long

The Generation Game

The Generation Game is a basic game generator, editor and player.

Created as part of a final university project, the Generation Game was written in C# using Unity in ten weeks.

Project Goals:

  • Demonstrate technical abilities

  • Showcase skills in game design theory & application


As this would be my final project at University, I wanted it to be somewhat autobiographical. I wanted to share the experience of playing with game rules and systems.

Capture.PNG

Players can generate simple games, which are often uninteresting. Players can then examine the rules, identify problems and make changes. Editing game rules is fast, and within moments players can then test their changes. By repeating this process, randomly generated rules can be refined into engaging games.

Games are all primarily mouse driven. You can create a number of entity types that all behave differently. These behaviours are driven by interactions, which consist of one input and a number of results. Each result consists of a result type and a value, as well as an 'other actor' field which only applies to collisions. As well as behaviours, entities all have various properties like colour and whether they are affected by gravity.

Inputs:

  • Near - Triggered when the mouse is near the entity this is attached to.

  • Far - Triggered when the mouse is far from the entity this is attached to.

  • Hover - Triggered while the mouse is directly over the entity this is attached to.

  • Click - Triggered when the entity this is attached to is clicked on.

  • Collision - Triggered when the entity this is attached to collides with another entity. Can be any other entity (-1) or restricted to a specific one.

Results:

  • Movementx - Moves in the x axis. Value should be a number, positive for right and negative for left.

  • Movementy - Moves in the y axis. Value should be a number, positive for right and negative for left.

  • Colour - Changes colour. Value should be one of the available colours, with a capital letter.

  • Toggle - Toggles a number of properties depending on the value. 'gravity' will toggle the gravity, 'movement' will freeze and unfreeze an entity, 'follow' will cause the entity to loosely follow the mouse as if attached by an elastic string.

  • Repel - Moves away from the mouse. Value is the strength of this movement, and should be a number.

The system has some flaws. It is not very user friendly and could be better presented. I implemented tooltips to help mitigate the worst of these problems, but in order to develop this past a prototype the editing form especially needs to be redesigned with end users more in mind. In playtesting, users struggled to understand the rules displayed on the right hand panel. These rules could also be shown in more plain English, and with better visuals.

Despite the flaws, the system can generate, fully edit, play, save and load games. The project succeeds on the first goal of demonstrating technical ability by achieving this in a short period of time with little programming experience.

Screenshot 2021-05-07 133305.png

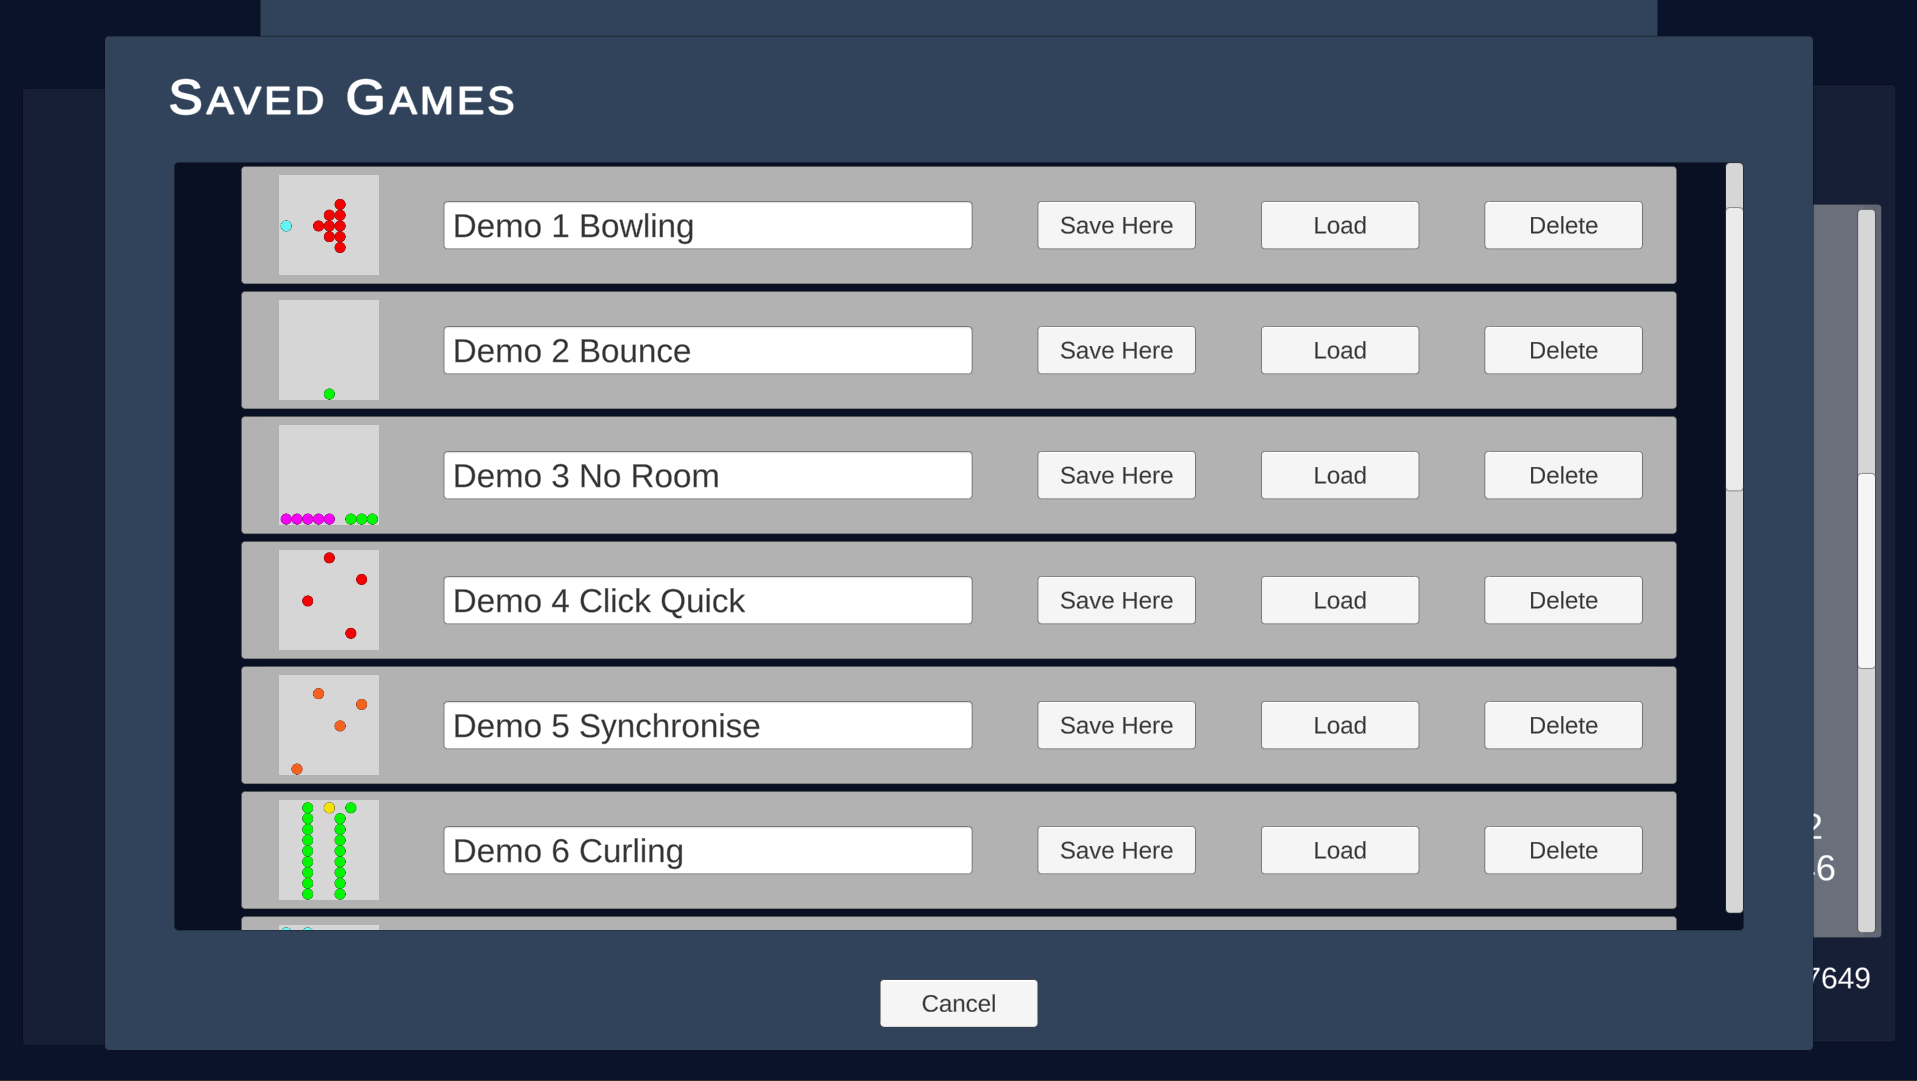
To showcase the system’s capabilities, I designed ten example games which are included in the default save data. Also included are four games by my first playtesters.

Game Breakdown - Demo 10 ‘Opposites’

2.gif

Rules:

  • ‘Zero’ balls move up when the mouse is near them. They are affected by gravity when the mouse is far away.

  • ‘One’ balls move up when the mouse is far away from them. They are affected by gravity when the mouse is near.

  • Both balls can be moved away from the mouse slightly when clicked.

Goal:

  • Move all balls above the horizontal line in the upper portion of the screen.

From the starting position, moving the ‘zero’ balls across the line will leave the ‘one’ ball behind. Moving the one ball above the line leaves the zero balls behind.

The game can be solved by separating the balls. By clicking, move both ‘zero’ balls to one side of the screen, and the ‘one’ ball to the other. Once the balls are separated, the mouse can be in the necessary position of being close to the ‘zero’ balls and near the ‘one’ ball at the same time.

Hose Woes

Your garden is overrun with giant vines, snails and bees. Clear away the magic fertiliser that started this mess to make your way back home.

Hose woes is a short game created over the course of about 10 weeks for a university project. The assignment was to create a piece that demonstrated expertise or skills in a particular area. I wanted to show skills in:

  • Project management and judge of scope, by producing a complete and functional game within the time given

  • Adaptability and range of skills, by making every aspect myself

  • Ability and willingness to learn, by tackling even the aspects of game development I am less confident in like 3D modelling and animation, and by deliberately choosing design elements that I didn’t know how to achieve, incorporating learning into the project.

  • Creativity and skill in game design

The game was made using Unity, Blender, Photoshop and Substance Designer. All assets, game design and programming were made by me with the exception of the audio and some snippets of shader code which I needed help from the internet for:
https://github.com/przemyslawzaworski/Unity3D-CG-programming/blob/master/area.cs
https://github.com/przemyslawzaworski/Unity3D-CG-programming/blob/master/area.compute
https://www.gamedev.net/forums/topic/616327-direct-compute-updown-scaling/

These were used as a base and then edited to suit the game’s needs.


Dev Diary & Reflection

Week 1 – 28/9/20 Concept & Prototyping

The first stage of the project was to come up with a general concept and start prototyping it. I wanted to do these side by side as a kind of safety net – if I found the basics of the concept too difficult to implement, it was early enough to reconsider the concept entirely. This was necessary as I wanted to demonstrate an ability to learn, so it was important the concept was sufficiently different to anything I had done before.

It was suggested to use games form the ‘explorer’ genre as a reference point, so that became my starting point. I thought that the explorer genre was fine, but it would be difficult to orient yourself in a large world without a large number of art assets that could be used to differentiate the areas. Creating this many assets was clearly out of scope, so I considered alternative methods. I wanted to avoid using a minimap as whenever I play a game that uses one I find myself watching the minimap instead of the game. I wanted the player to leave some kind of actual trail in the world, and so having a fog of war effect came to mind. I wanted some way of tying the fog of war to the mechanics of the game rather than being purely visual and so the idea developed from there.

Procedural levels were chosen to make an inevitably short game replayable, and as I have never implemented them before it also strengthened my goal of learning. The narrative came largely from my garden at home where we had more runner beans than we could eat and they just seemed to grow more every day. It was important to me that although the narrative was silly it still made some kind of loose sense, so the characters were given motivations. The antagonist offers you magic fertiliser so he can steal your house in the chaos, and the protagonist is interested in magic fertiliser because they are a rubbish gardener.

Week 2 – 2/10/20 Prototype Development

I spent a long time trying to come up with a way to implement a fog of war myself. I learnt about editing pixels and midpoint circle algorithms and quickly found that changing many pixels in this way gives you a game that runs at less than one frame a second. I thought about using transparent terrain as I hoped it would be more efficient over a larger area, but found that I would need to use a splatmap to control the transparency and that would be a single texture anyway. Eventually I had to admit defeat and in order to move on with the project I had to look it up online. This was how I found the solution of using render textures and shaders, neither of which I was familiar with.

I have a rule that nothing goes into my game unless I know exactly how it works and how to reproduce it in future. This is to ensure that I learn as much as possible through the process. So, it was clear I had to learn the basics of how shaders work and this was definitely a challenge. To tie the fog of war into the mechanics I had to measure the progress of the player some way and all of a sudden I had to get to grips with compute shaders as well. There were many frustrations along the way: shaders that would sample one texture once and then refuse to do any more than that, textures created from scripts that insisted they weren’t read/write enabled (which they apparently always should be) until I asked them nicely 4 times over, numbers that didn’t add up until I realised I was using the wrong filtering method, and scripts that worked fine at the end of the day then somehow broke themselves the next morning.

At some point, I found I had something working and that was the point I had to stop In order to meet the rest of my schedule. The result is that the game is perhaps for intensive than it needs to be. It regularly samples a 4096*4096 texture and does a calculation on each pixel. Whether this affects performance in a meaningful way is something I don’t know, but it could certainly be better. Generally, only the area around the player is changing so it could be improved by remembering the general state of the map, and only sampling and updating an area around the player.

Early Developmen

Early Development

early.PNG

Week 4 – 19/10/20 Level Generation

After my shader headache, working on level generation was almost relaxing. As it was my first crack at it, I kept it simple. I drew out the general shape I wanted then came up with the rules to make it. I wanted several long paths rather than a maze-like layout to further help the player stay orientated without a minimap. These paths should start wide then gradually narrow to a point, where the player could find an upgrade.

The algorithm works row by row. For each row it chooses a length and an offset from the last row. The length is determined by a simpler approximation of the gaussian distribution. The closer to the centre the row is, the more likely it is to be ‘wide’ (from the perspective of the whole path) or ‘long’ (from the perspective of the individual row). Length… width… size… the variables quickly got confusing. When I was doing my research, all of the examples I saw seemed to use rejection algorithms to get random values in a particular distribution. I couldn’t figure out why on earth this was a good idea, so mine only picks once. It works out the maximum value at a point on the graph (determined by the row) and then uses a percentage margin of this to set the range for generation.

The whole path generation is then repeated 3 more times, with the final points being translated differently to fit on the four quadrants.

Testing random lengths that get generally smaller. This is before the percentage margin was introduced, so the values run the whole spectrum between 1 and the maximum length.

Testing random lengths that get generally smaller. This is before the percentage margin was introduced, so the values run the whole spectrum between 1 and the maximum length.

Level Generation showing four quadrants. This is before the offset was implemented, so the paths stay centred.

Level Generation showing four quadrants. This is before the offset was implemented, so the paths stay centred.


Week 5 – 26/10/20 Modelling

In previous games I’ve made, there’s been a deficit in the narrative. This usually means there is one, but it isn’t explained in the game itself, or if it was it was in the form of text descriptions only. I wanted to improve in this area, even if it only meant including some quick pre-rendered cutscenes. Although the camera in-game is quite zoomed out, I made the character model higher fidelity than it needed to be with re-using it for cutscenes in mind.

The models are of a pretty low quality in my opinion. There was a strict time pressure for the project and a lot to achieve in that time, so they were made fairly quickly with little thought to topology and such. For the character model especially I spent a disproportionate amount of time on the head than the body, and this really shows in the final result. The body is very clearly mostly basic shapes and the joints caused some ugly deformation once it came to rigging and animating.

Week 7 – 16/11/20 Texturing, Rigging & animation

I gave myself about one week for texturing, rigging and animation so these were all kept fairly simple. Many of the textures were created using Blender’s node based ‘shader editor’ which can take information from the geometry, and then baked down into a final map. The tree was created in this way, with individual leaves textured by a combination of a gradient and a colour from the leaf’s position. The arrangement was then rendered and the result applied to planes on the tree’s branches. The bark texture is made from a distorted wave texture aligned to curve of each branch, then baked into an image.

Character & Rig

Character & Rig

Rigged Snail

Rigged Snail

Week 8 – 23/11/20 Coming Together

I had a lot of problems implementing all the animations. Blender’s animation system for multiple animations is difficult to use and exporting these was a nightmare. Blender has several different menus for animation and it’s difficult (or impossible) to keep all of them open at once due to sheer screen space. It seemed arbitrary which animations were actually exported into the final file as the button to export ‘all’ animations does not, in fact, export all animations.

The transitions in Unity are more complex than they need to be. The feet and arms can have several different combinations of animations and in the game all these combinations affect the whole body. I believe it is possible for the legs and arms to have different controllers and animations that only affect those bones, and ideally it should have been set up this way.

Week 10 – 7/12/20 Declared ‘done’

At some point in every creative project you have to call things done or you’d spend your life never finishing anything, or fixing old projects instead of making new things.

This game’s time has come, though there’s still plenty that could be improved. Some last minute fixes were implemented - the actual levels were upside down from what is shown in the level editor because of the way pixels are read in unity – from the top right. The levels spawn in from the bottom left (as this is where 0,0 should be to any reasonable person). This was fixed simply by flipping the level preview image. There was no explanation for how to play, so this was added in with a simple text description in the main menu.

There’s still many issues though, including:

  • There are no window, resolution or quality options and the game is generally unoptimised.

  • Dying in game needs to be completely rethought. Originally I planned to include perma-death to encourage players to try more different levels. Eventually I decided this was too punishing and cut it, but a different death mechanic was never really considered. Currently, the player just spawns back at home. There is no cut to black or any feedback on what has happened and on top of that it can be abused as a way of quickly returning home. When permadeath was cut, far more thought should have gone into this.

  • The grass doesn’t tile right. The grass was reused from an old Substance designer graph I made. To make it less repetitive three different versions of the graph are used across the map. When I changed the seed to rescatter the flowers for these other versions, the grass was affected also. The graph should have been set up to only randomise the flower scattering and not the grass background so that it tiled across the three different materials.

Success on goals:

  • Project management and judge of scope

I believe this has been quite clearly demonstrated. The game has full menus, a beginning, a story, a gameplay loop and an end. The scale of the project was judged well and what was planned has been delivered.

  • Adaptability and range of skills

Almost all of the entire game has been made from scratch by myself, incorporating many different skills from across different disciplines.

  • Ability and willingness to learn

I have succeeded in incorporating many things that were new to me and I have learnt a lot by doing so. The greatest success was in the programming, where I feel this whole game has been a valuable learning exercise. The animation aspect is something I would normally avoid, but I have made and incorporated functional (although basic) animations. The biggest failure here is in sound. Sound design was almost completely ignored. Although I went into the project determined to do as much as possible, sound continues to be something of an exception. I should not continue to ignore it while claiming there’s no harm in doing things you’re bad at.

  • Creativity and skill in game design

This is somewhat unclear to me. I think much of the game design is creative, and the game overall is successful, but ultimately a lot of the individual mechanics are borrowed from existing genres or tropes. I don’t claim to ever have an original idea, but I like my games to have at least one unusual or interesting aspect. For my tastes, too much of this game feels slightly recycled.

Grabbage

Grab Baggage in Grabbage


University project that was completed over the course of one semester.

Using UE4, Maya, Photoshop, Illustrator, Substance Painter

A fast-paced, colourful game about retrieving your luggage from the airport. Using non-standard game mechanics and an unusual environment, Grabbage is a unique small experimental game that rewards speedy grabs and a quick eye. Find your bag then keep an eye on it as you manipulate the conveyor belts to grab it as fast as possible.

The project aimed to demonstrate four main personal strengths. These were:

-Originality in game design

-Grasp of scope and ability to envision what can be produced in a certain time frame

-Project management – achieving this vision

-Adaptability and quick learning – this is my second UE4 game, and the first was a 24 hour project. Many of the techniques or concepts used were completely new to me.


Dev Diary

Week 0 Concept

From a theme of reclaimed, Grabbage grew as an idea that was not exactly a unique interpretation of the word, but still carried with it an unusual and mundane setting for a video game. Use of the mundane in art and video games has produced many wonderful, inspiring works. In fact, with the airport setting it is hard not to mention Papers, Please as being a key inspiration.

Week 1 Planning and Pre-production

scenedraft1.png
scenedraft3.png

Grabbage is designed to be a low risk project, with an almost guaranteed result at the end. However, I find low risk doesn’t have to avoid the unknown. Before even the plan was completed, uncertain elements were experimented with and tested. Anything that I was unsure I could produce was drafted very quickly before being integrated into the plan. However, to minimise risk, physics-based movement for the bags has been ruled out and they will follow a nice, predictable set path. The game will be playable from around week 3 / 4, with everything after that being extra features and polish.

Week 2 Fun with blueprints

cap.PNG

All the basic groundwork is completed. The scene for the game was drafted using basic geometric shapes and using blueprints a functioning conveyor belt and player movement was integrated. Bags have randomly generated properties and are spaced according to their position in the queue. Currently, new bags are manually spawned in.

Week 3 Basic Bag Interaction

Bags have been switched over to automatic spawning, and can be grabbed by the player. The exact bag required is generated and shown in scene as a placeholder for its HUD implementation.

Week 4 Minimum Viable Product

Character generation is established but as there are no models, the results are not visible. The conveyor belt controls have been added to the game, so bags can be swapped between belts. New bags will now spawn between rounds into empty spaces, so the game is now fully playable and loops indefinitely.

Week 5 3D Work Begins

Scene object modelling is completed and these models are textured. The character models have a first pass done and the random generation is now clear.

Week 6 2D Work Begins

The focus of the 2D elements is the bag request visual. It is vital for the gameplay so must be clear and resemble the bags on the belts. It should also be obvious to the player that this is the goal. This was planned to be emphasised with a 2D animation showing the bag emerging as a thought bubble from each character. However, masking and lighting the request bag graphic to resemble the other bags as close as possible was prioritised.

Basic scoring is implemented and now displayed on screen. The scene layout has been revised somewhat so that the character moves from the left hand screen to the right, as this should feel more natural for most players.

Week 7 Trouble in Bag Paradise

bags1.PNG

The first iteration of bag models was completed but found to be lacking. In the scene, the bags are small and the finer details are lost. As the appearance of the bag models directly affects the game, it is essential that extra time is taken to revise these models so that they are more distinct at small sizes.

Week 8 New bags. New character. New materials

This week sees many model revisions. There are new bags, a new character and much progress on the textures and materials.

Week 9 Bag Colours Finalised

baggegegegegegeggege.PNG

Finalising the bag colours took a lot of experimentation. Black or dark shades are out because they blend in too much with the dark conveyor belt, so the colours must be bright, distinct, and not be too much of an eyesore when combined at random in the scene. The final result isn’t perfect, but it just about works.

Week 10 Menus Complete

The menus are all finalised and integrated. There hasn’t been as much time as I’d like to spend on the design of the menus and there are many disparate elements that make them not really fit together as a cohesive whole. Two new faces have been added to the character pool to give them further variety and enforce the narrative of the game, where ‘your character’ is many different people.

vlcsnap-2019-05-09-20h55m43s215.png
vlcsnap-2019-05-09-21h03m54s47.png

Week 11 Enter the Tutorial

Featuring an all new tutorial system, Grabbage can now guide you through the Controls and concept step by step. All that remains is to thoroughly test things are working as intended and patch up any small problems.